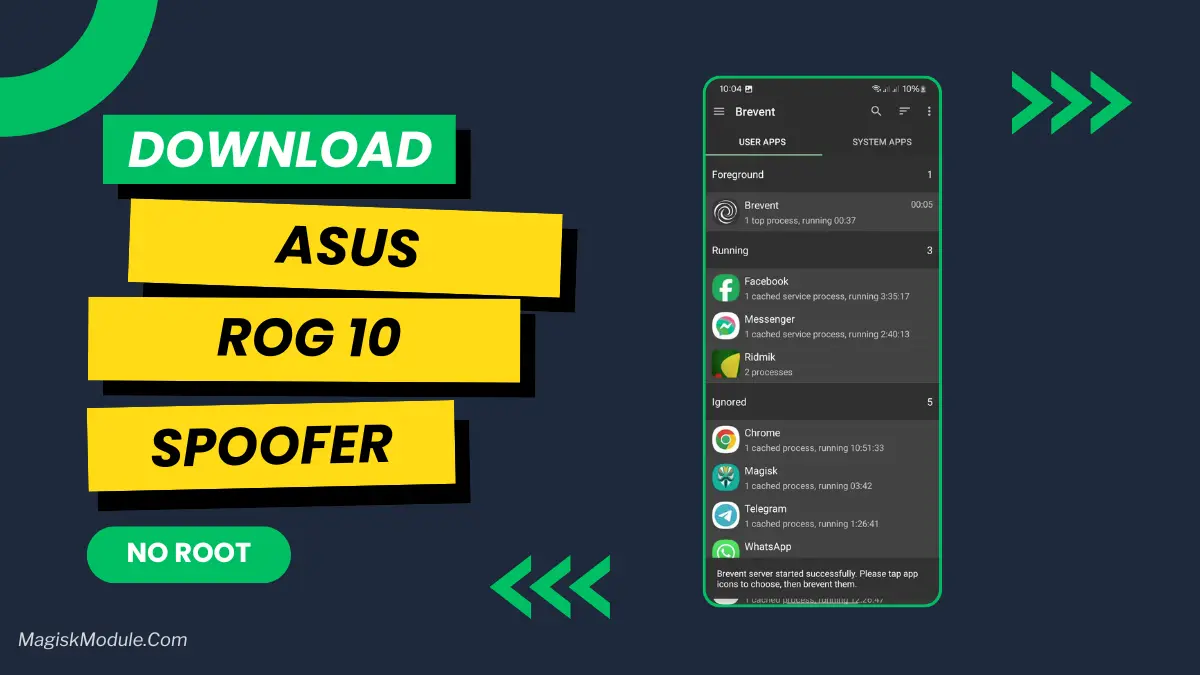
ASUS ROG 10 Spoofer Script Install Via Brevet

ASUS ROG 10 Spoofer Script Install Via Brevet

Willy Gailo
5.0(0 ratings)
6 Downloads
FinalVersion
3KBSize
Non Root ModulesCategory

About this module

## How to Use Non Rooted Phone:

Required Brevent App

  • Get the Brevent app or Qute App from the google play store.
  • Install the app on your device.

How to setup Brevent app or Qute App on your device

To use Brevent, you'll need to enable Developer Options on your device:

  • Turn on Wifi
  • Go to Brevent App
  • Tab on Developer Option
  • Tap on
  • Go to Settings > About Phone.
  • Tap Build Number seven times to unlock Developer Options.
  • Navigate to Settings > Developer Options and enable USB Debugging.
  • Enable Wireless debugging from Developer Option.
  • Then again goto the brevent app or Qute App and tap on wireless

debugging port.

  • Split Screen 1.Developer Option and 2.Brevent app or Qute App
  • Goto Wireless debugging and tap on Pair device with pairing code from Developer Option..
  • Copy the wifi paired code.
  • Put the wireless pairing code in Brevent app and tap on wireless pair
  • [Tutorial For Setup Brevent]

How to install the module?

  • Download the module on your android.
  • Open the Zarchiver app
  • Extract the downloaded zip file and put the folder on internal storage.
  • Go to Brevent or QUTE app and tap on Exec command from left site.
  • Command: Now put on the installation command.

Installing Command

sh /sdcard/rog_spoof_v3.1.sh-main/rog_spoof_v3.1.sh

Uninstall Command

Get the command txt inside the downloaded zip file

  • Automatic Process Execution – No need for manual tweaks; the script handles all optimizations seamlessly.
  • System Stability Enhancements – Reduces background processes and improves system responsiveness for gaming and multitasking.
  • Safe & Non-Permanent – Changes applied by the script are non-permanent and can be reverted after a reboot.

Disclaimer

  • This script is designed exclusively for Android devices. It is not compatible with iPhones or iOS devices.
  • Using this script does not guarantee performance improvements on all devices. Results may vary based on device specifications.
  • Root users may experience better optimizations, but the script provides enhancements even for non-rooted devices.
  • Use at your own risk. While this script does not cause harm, improper execution or conflicts with other tweaks may affect system performance.
  • Do not use this script on unsupported devices. It is optimized for Android only and may not work correctly on heavily modified ROMs.
  • This script does not bypass security measures (e.g., SafetyNet). Some apps may still detect modifications.

For any issues, ensure you have the necessary permissions and that your device supports the required commands.

Rate this module

More from Willy Gailo

View all
Crocus Vernus

Crocus Vernus is a lightweight, reversible tuning module that makes your device noticeably smoother and more responsive during gaming and multitasking. Enjoy a more responsive gaming and multitasking experience through intelligent adjustment of system parameters in the kernel and memory. Developer: @illumi

118Root Modules
By @bot
Abandon Engine

Step-by-Step Installation: - Active AxManager: First, you need to make sure it is active. - Install via AxManager: Open the AxManager. - Tap on the “Plugin” section. - Click “Install from Storage” and locate the geted file. - Confirm the installation.. - Reboot Your Device After installation. How to Active AxManager To use AxManager, you'll need to enable Developer Options on your device: - Turn on Wifi - Go to Settings > About Phone. - Tap Build Number seven times to unlock Developer Options. - Open the AxManager, Click “Need To Active”. - Enable Notification & Click Start Button. - Click Wireless debugging & Enable Wireless debugging. - Click Pair device with pairing code. - Click on "Enter Pairing Code" above and paste the WiFi pairing codes there. This is a file for AxManager. It’s not a Magical wand but a way to organize your phone by sleeping some non-essential system processes just like the above post said and that will help improve your battery life without rooting your Infinix, Tecno, itel and other Android phone. Features: - The file is compatible with Infinix, Tecno and itel smartphones. - Limited alterations to standard setup to maintain optimum performance and stability. - Improves system handling without heavy, complex tweaks. - Works seamlessly with stock Transsion ROMs. - Low usage of system resources to preserve your battery and daily performance. - Simply Enabled/Disabled through the AxManager program. - Reduces unneccessary background usage of phone resources.

245AxManager Plugin
Mitsu Battery Angel

How to Use Root Users? - Ensure Root Access: The first prerequisite is having root access via a custom recovery. - Install via Magisk Manager: Open the Magisk Manager. - Tap on the “Modules” section. - Click “Install from Storage” and locate the geted file. - Confirm the installation and allow the module to apply the necessary changes. - Reboot Your Device: After installation, reboot your device & KSUWebUi Recommended to activate this. The Mitsu Battery Angel is a lightweight background utility module designed to extend device screen-on time and manage power efficiency. It actively scales CPU frequency and restricts background app drain to improve overall thermal management and standby longevity. I've been running this for the last few weeks to see if it actually replaces carrying a heavy power bank everywhere I go. My phone easily pushes through a full day of heavy scrolling and messaging, dropping significantly less charge while sitting idle overnight. - Cuts down CPU activity to keep power consumption strictly under control. - Aggressive background restriction stops sneaky apps from draining your charge while the screen is off. - Better thermal management keeps the hardware running cool during extended daily use. - Dramatically improves standby time, meaning you lose fewer percentages overnight. - A lightweight footprint ensures the tool itself does not hog valuable system memory. - Supports long-term health by balancing active performance with deep battery savings. If you are tired of constant battery anxiety, applying this via your root manager or AxManager is an absolute no-brainer. It gives your device the extra endurance it needs without suffocating basic performance.

168Root Modules
Bnoop Boost | BBoost

Step-by-Step Installation: - Active AxManager: First, you need to make sure it is active. - Install via AxManager: Open the AxManager. - Tap on the “Plugin” section. - Click “Install from Storage” and locate the geted file. - Confirm the installation.. - Reboot Your Device After installation. How to Active AxManager To use AxManager, you'll need to enable Developer Options on your device: - Turn on Wifi - Go to Settings > About Phone. - Tap Build Number seven times to unlock Developer Options. - Open the AxManager, Click “Need To Active”. - Enable Notification & Click Start Button. - Click Wireless debugging & Enable Wireless debugging. - Click Pair device with pairing code. - Click on "Enter Pairing Code" above and paste the WiFi pairing codes there. Changelog >> - Add Downscale Factor (App Only) - Add FPS / Hrz Scale - Adjust Game set-fixed-performance logic - Add power save (Adjustable) logic - Add some tweaks OEM and MIUI flags (OEM flags still testing) - Add clear button for Check log window Features - Acts as an Android RAM cleaner, freeing up precious memory so your system can breathe. - Works to improve CPU efficiency, making sure your processor isn't wasting effort on pointless tasks. - Gives your Android performance a major optimization, smoothing out the overall experience. - Helps speed up the Android GPU, which means smoother visuals and scrolling. - Automatically clears out those resource-hogging background apps you forgot were even running. - The final result? A seriously improved Android phone speed. Everything feels zippier and more responsive. Developer: @Brains82

282AxManager Plugin

Comments (0)