Step-by-Step Guide to Installing Android Font Manager
Installing the Android Font Manager makes customizing fonts on my device easy. This guide will cover what you need for installation and how to do it.
Requirements for Installation
Before starting, I check if my device has what’s needed for the font module requirements. Here’s what’s important:
- A device running Android 5.0 (Lollipop) or higher.
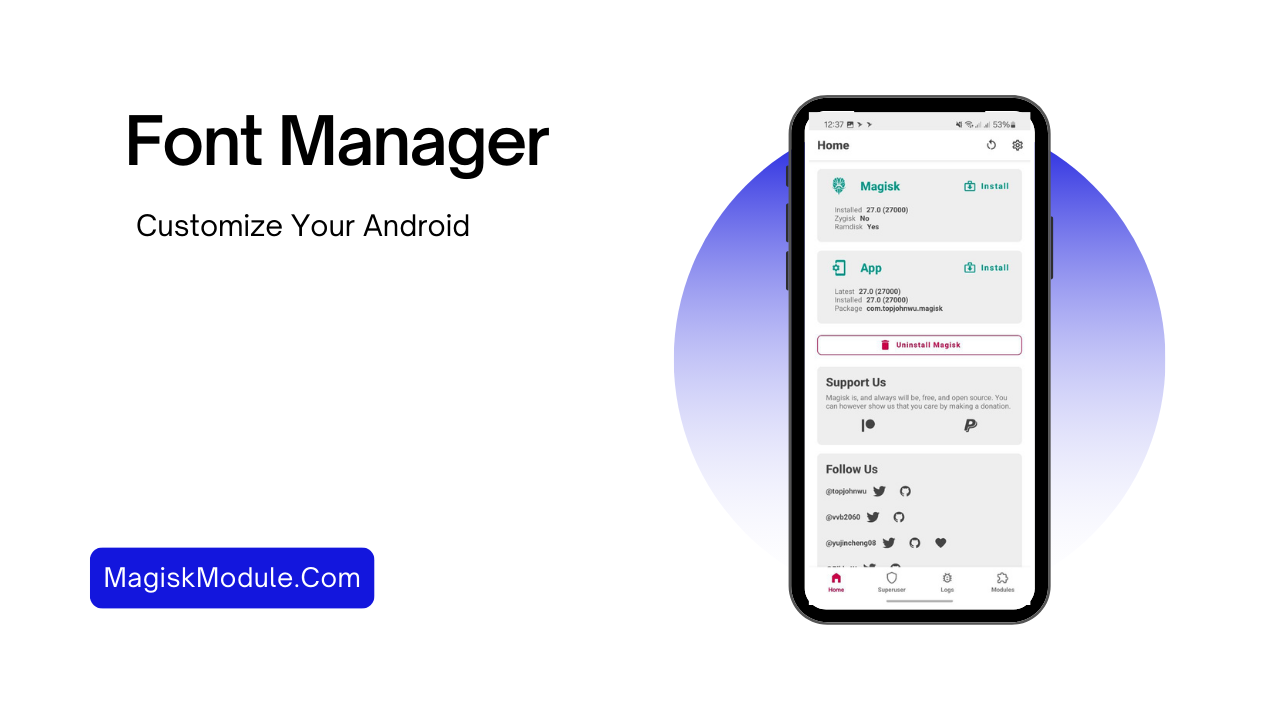
- Installing Magisk for systemless modifications.
- A custom recovery tool, such as TWRP, to flash the font module.
Installation Process
With the right setup, I can begin the Android Font Manager installation. Here’s how to manage fonts step by step:
- Open the Magisk Manager app on my device.
- Navigate to the “Modules” section.
- Search for the Font Manager module in the repository.
- Follow the prompts to complete the installation.
- Reboot my device to apply the changes.
After rebooting, I can check out different font styles and customize my Android experience.