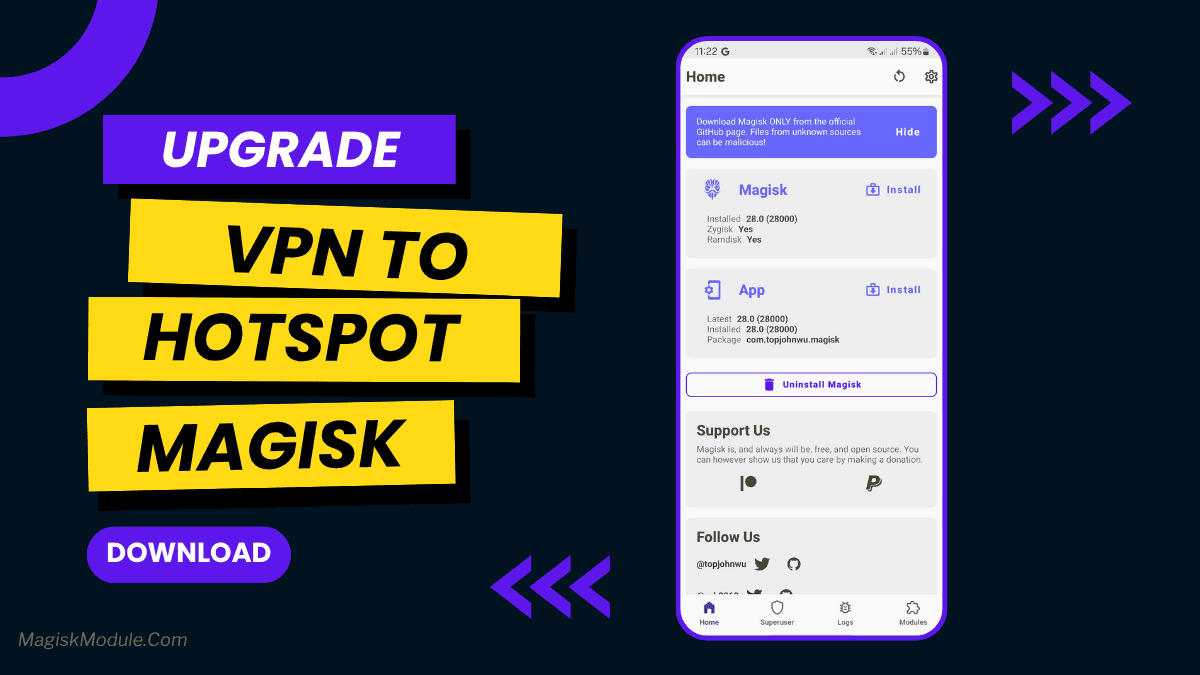
About this module
Introduction
In today's world, keeping your online data safe is key. A Virtual Private Network (VPN) helps a lot. But, what if you could share your VPN with other devices via your mobile hotspot? That's where the VPN to Hotspot Magisk Module comes in. It lets you share your VPN connection over a hotspot, giving secure internet to many devices. Let's explore how to set it up and why it's great.
Understanding VPN and Hotspot
What is a VPN?
A VPN makes your internet connection private. It hides your IP address and encrypts your data, so you can browse safely.
What is a Hotspot?
A hotspot lets you share your internet with others. It turns your phone into a mini Wi-Fi router.
Benefits of Using a VPN
- Enhanced Security: Keeps your data safe from that.
- Privacy: Keeps your online activities private.
- Access to Restricted Content: Lets you get past geo-blocks.
Advantages of Sharing VPN over Hotspot
- Extended Protection: Secures all devices on your hotspot.
- Convenience: No need to set up VPN on each device.
- Cost-Efficient: One VPN subscription can cover many devices.
Introduction to Magisk
What is Magisk?
Magisk is a tool for Android that lets you root your device. It's flexible and uses modules to add new features.
Benefits of Using Magisk for Custom Modules
- Systemless Root: No changes to the system partition.
- Wide Range of Modules: Adds custom features.
- Easy Management: Simple to install and update.
Magisk Modules for VPN to Hotspot
Overview of Magisk Modules
Magisk modules are add-ons that enhance your device. They're easy to install and manage with the Magisk Manager app.
Specific Modules for VPN to Hotspot Sharing
There are Magisk modules for sharing VPN over a hotspot. These modules send your VPN traffic to your hotspot, protecting all connected devices.
Setting Up Magisk on Your Device
Prerequisites
- Unlocked Bootloader: Needed for custom recoveries.
- Custom Recovery Installed: TWRP is best.
- Magisk Manager App: For managing modules.
Step-by-Step Installation Guide
- Unlock Bootloader: Follow the manufacturer's guide.
- Install Custom Recovery: Flash TWRP via fastboot.
- Flash Magisk ZIP: Download and flash the latest Magisk ZIP with TWRP.
- Install Magisk Manager: Download and install the Magisk Manager.
Installing VPN to Hotspot
Downloading the Module
Find the VPN to Hotspot Magisk module from a reliable source. You can check XDA Developers or the official Magisk repository.
Installation Process
- Open Magisk Manager: Go to the Modules section.
- Install from Storage: Select the module ZIP file.
- Reboot Your Device: Restart to apply changes.
Configuring the Module
After installation, open the module settings in Magisk Manager. Here, you can configure the VPN sharing options as needed.
Advantages of VPN to Hotspot Sharing
Enhanced Security
All devices connected to your hotspot are protected by the VPN’s encryption.
Increased Privacy
Your browsing activity remains private across all connected devices.
Access to Geo-Restricted Content
Bypass regional restrictions and access content from different parts of the world.
Use Cases for VPN to Hotspot
Traveling
Secure your internet connection while on the go, whether in hotels or public places.
Public Wi-Fi Security
Protect all your devices when connected to public Wi-Fi networks.
Remote Work
Ensure secure and private internet access for your work devices, no matter where you are.
Conclusion
Sharing your VPN connection over a hotspot using the Magisk module is a smart way to extend security and privacy to all your devices. With the right setup, you can ensure that your internet activities remain private and secure, no matter where you are.
FAQs After the Conclusion
- How do I update the Magisk module?
- Open Magisk Manager, go to the Modules section, and check for updates.
- Can I use this setup on any Android device?
- Most Android devices are compatible, but check if your device supports Magisk.
- Does this work with all VPN services?
- Yes, the module is designed to work with most VPN services.
- What if my device isn’t rooted?
- You’ll need to root your device and install Magisk to use this module.
- Is there a risk of data leaks?
- If configured correctly, the risk is minimal. Always use strong passwords and keep your software updated.
Rate this module
More from @bot
View allCrocus Vernus
v5.5.0Crocus Vernus is a lightweight, reversible tuning module that makes your device noticeably smoother and more responsive during gaming and multitasking. Enjoy a more responsive gaming and multitasking experience through intelligent adjustment of system parameters in the kernel and memory. Developer: @illumi
Abandon Engine
FinalStep-by-Step Installation: - Active AxManager: First, you need to make sure it is active. - Install via AxManager: Open the AxManager. - Tap on the “Plugin” section. - Click “Install from Storage” and locate the geted file. - Confirm the installation.. - Reboot Your Device After installation. How to Active AxManager To use AxManager, you'll need to enable Developer Options on your device: - Turn on Wifi - Go to Settings > About Phone. - Tap Build Number seven times to unlock Developer Options. - Open the AxManager, Click “Need To Active”. - Enable Notification & Click Start Button. - Click Wireless debugging & Enable Wireless debugging. - Click Pair device with pairing code. - Click on "Enter Pairing Code" above and paste the WiFi pairing codes there. This is a file for AxManager. It’s not a Magical wand but a way to organize your phone by sleeping some non-essential system processes just like the above post said and that will help improve your battery life without rooting your Infinix, Tecno, itel and other Android phone. Features: - The file is compatible with Infinix, Tecno and itel smartphones. - Limited alterations to standard setup to maintain optimum performance and stability. - Improves system handling without heavy, complex tweaks. - Works seamlessly with stock Transsion ROMs. - Low usage of system resources to preserve your battery and daily performance. - Simply Enabled/Disabled through the AxManager program. - Reduces unneccessary background usage of phone resources.
How to Use Root Users? - Ensure Root Access: The first prerequisite is having root access via a custom recovery. - Install via Magisk Manager: Open the Magisk Manager. - Tap on the “Modules” section. - Click “Install from Storage” and locate the geted file. - Confirm the installation and allow the module to apply the necessary changes. - Reboot Your Device: After installation, reboot your device & KSUWebUi Recommended to activate this. The Mitsu Battery Angel is a lightweight background utility module designed to extend device screen-on time and manage power efficiency. It actively scales CPU frequency and restricts background app drain to improve overall thermal management and standby longevity. I've been running this for the last few weeks to see if it actually replaces carrying a heavy power bank everywhere I go. My phone easily pushes through a full day of heavy scrolling and messaging, dropping significantly less charge while sitting idle overnight. - Cuts down CPU activity to keep power consumption strictly under control. - Aggressive background restriction stops sneaky apps from draining your charge while the screen is off. - Better thermal management keeps the hardware running cool during extended daily use. - Dramatically improves standby time, meaning you lose fewer percentages overnight. - A lightweight footprint ensures the tool itself does not hog valuable system memory. - Supports long-term health by balancing active performance with deep battery savings. If you are tired of constant battery anxiety, applying this via your root manager or AxManager is an absolute no-brainer. It gives your device the extra endurance it needs without suffocating basic performance.
Bnoop Boost | BBoost
FinalStep-by-Step Installation: - Active AxManager: First, you need to make sure it is active. - Install via AxManager: Open the AxManager. - Tap on the “Plugin” section. - Click “Install from Storage” and locate the geted file. - Confirm the installation.. - Reboot Your Device After installation. How to Active AxManager To use AxManager, you'll need to enable Developer Options on your device: - Turn on Wifi - Go to Settings > About Phone. - Tap Build Number seven times to unlock Developer Options. - Open the AxManager, Click “Need To Active”. - Enable Notification & Click Start Button. - Click Wireless debugging & Enable Wireless debugging. - Click Pair device with pairing code. - Click on "Enter Pairing Code" above and paste the WiFi pairing codes there. Changelog >> - Add Downscale Factor (App Only) - Add FPS / Hrz Scale - Adjust Game set-fixed-performance logic - Add power save (Adjustable) logic - Add some tweaks OEM and MIUI flags (OEM flags still testing) - Add clear button for Check log window Features - Acts as an Android RAM cleaner, freeing up precious memory so your system can breathe. - Works to improve CPU efficiency, making sure your processor isn't wasting effort on pointless tasks. - Gives your Android performance a major optimization, smoothing out the overall experience. - Helps speed up the Android GPU, which means smoother visuals and scrolling. - Automatically clears out those resource-hogging background apps you forgot were even running. - The final result? A seriously improved Android phone speed. Everything feels zippier and more responsive. Developer: @Brains82