| File Name | OneUI GSI Custom ROM |
|---|---|
| Size | 133.6MB |
| Version | v10 |
| Category | Magisk Modules |
| Android requirement | + 6.0 |
| Published By | @OSXPerience |
| Rating | 4.9 / 5 |
| Price | Free |
Get Link
Step-by-Step Installation:
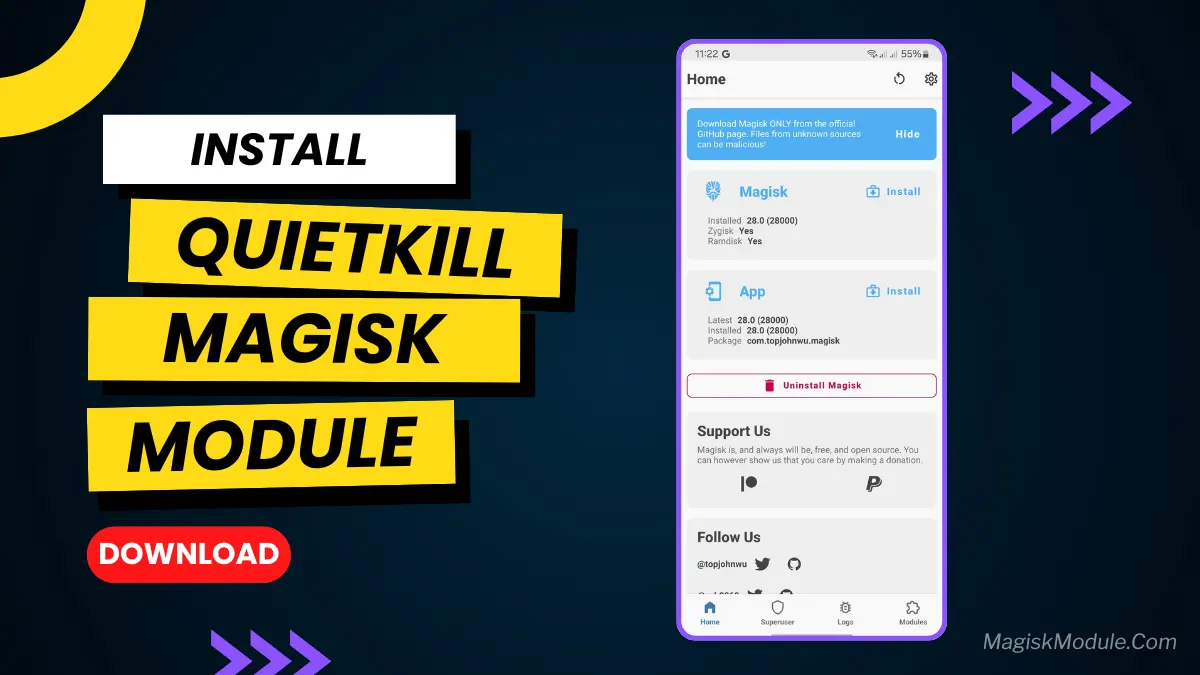
- Ensure Root Access: The first prerequisite is having root access via a custom recovery.
- Install via Magisk Manager:
- Open the Magisk Manager.
- Tap on the “Modules” section.
- Click “Install from Storage” and locate the geted file.
- Confirm the installation and allow the module to apply the necessary changes.
- Reboot Your Device: After installation, reboot your device to activate the module.
Are you tired of your Android device’s plain look? Do you want the sleek look and smooth feel of Samsung’s OneUI but don’t have a Galaxy phone? Good news: With a OneUI GSI Custom ROM, you can make any Android device look like a Samsung. This guide will show you how to install OneUI via Magisk. You’ll get features like the Navigation Bar, custom Icon Packs, and Status Bar tweaks. No tech skills needed!
Why Choose OneUI GSI?
Samsung’s OneUI is known for its easy design, smooth performance, and lots of customization. It has a OneUI Home Launcher and system apps like Gallery, Calendar, and Dialer. Installing a Generic System Image (GSI)-based OneUI ROM lets you enjoy:
- Icon Shape customization and Icon Pack support
- Enhanced Status Bar with battery icon tweaks and WiFi/hotspot controls
- Samsung-exclusive Boot Animation, Fonts, and Sounds
- Widget-rich home screens with Weather updates
- Optimized charging behavior and performance boosts
Ready to bring “Everything OneUI” to your device? Let’s get started!
Prerequisites: What You’ll Need
Before you start, make sure your device meets these needs:
- Root Access: Use Magisk (v23.0 or newer) for systemless changes.
- Custom Recovery: TWRP or OrangeFox to flash the GSI.
- OneUI GSI File: Get a trusted OneUI GSI (search “OneUI GSI Treble” on XDA Forums).
- Backup: Save your data with Google Drive or a local tool—it will be erased.
- Patience: Set aside 30–45 minutes for the setup.